
When Should You Use Waterproofing?
November 24, 2022
What Are The Alternatives To Waterproof Membranes?
February 15, 2023How to Prepare Surface for A Waterproofing Job?
How to Prepare Surface for A Waterproofing Job? Why do we need to waterproof our buildings? We experience a dry and wet season every year. We always expect a few rainy days and a humid environment during the wet seasons. Rainy days provide us, our plants, and animals with free water.
The problem appears with a poor waterproofing system and breakages or cracks on building surfaces. Rainwater can infiltrate our buildings, causing significant problems.
Mold formation, insect infestation, structural damage, and building failures are some issues we experience due to water penetration in buildings. Waterproofing has a significant role in protecting the exterior of our house from rainwater or acid rain exposure.
What is Waterproofing?
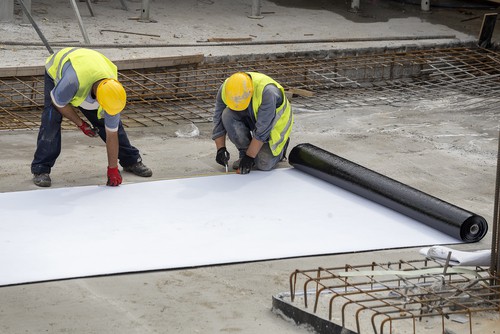
Waterproofing is the method, or the process, of sealing breakages, cracks, and other leakages on surfaces such as walls or terraces. It is a process of placing barriers on exterior parts of buildings to protect them from water penetration. Builders or applicators consider waterproofing as a critical part of maintaining building structures.
This is because an excellent waterproofing system helps to keep the exterior and interior features of a building dry. It greatly helps to avoid the corrosion of metallic items. It protects building walls from mold infestation and the structures of a building from weathering. Also, it preserves our things from damage due to high humidity. Consequently, it lessens the maintenance cost of a building.
Why is Preparing the Surface for Waterproofing Important?
One of the common mistakes in waterproofing is the failure to properly prepare the surface of a building or infrastructure for waterproofing. Surface preparation is a critical matter to consider. Poor surface preparation could result in installation downtime, degradation, and additional repairs.
A process of Preparing Surface for a Waterproofing Job
There are different types of waterproofing, such as brick bet waterproofing, poly acrylic chemical coating waterproofing, and pre-monsoon roof repairing. However, they have the same preliminary step in preparing the target surface.
Remove substrates.
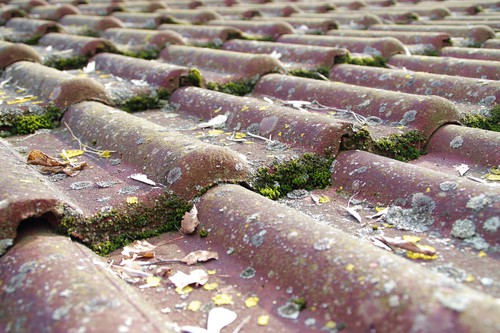
Substrates are those unnecessary substances on the surface. These are accumulated components with a mixture of deposited specks of dust, scale, rust, grease, laitance, and weathered materials. Poor removal of these substrates would lessen the adhesiveness of coatings or the bond between the substrate and the waterproofing membrane.
We can clean these substrates by abrasive cleaning, sweeping, and using chemicals necessary to remove grease. For molds and other growths, we can remove this using a 5% chlorine solution.
Evaluate the surface and treat defects.
Evaluating the surface includes assessing and fixing portions where water might accumulate. Make sure to remove or fix things that might obstruct the waterproofing process. Also, consider using tools that are safe for adjacent areas. There are methods for treating defects such as holes, cracks, rough surfaces, sharp protrusions, sharp external corners, and brick surfaces.
- For holes, clean first debris and deposit materials on it. After which, cover the holes using cement or non-shrink grout.
- We can fix cracks using patch repair plaster and non-shrink grout after cleaning.
- For rough surfaces, grind it or apply cement screed to soften it. Rough surfaces might affect the adhesiveness of the substrate and the waterproofing membrane. Other than softening uneven surfaces, this includes checking and fixing the gutter pipes, railings and the disposal of rainwater to the ground.
- For surfaces with sharp protruding parts and with sharp external corners, grind them using electrical grinders.
- For brick surfaces, applying cement sand is recommended.
Assess the best type of waterproofing system.
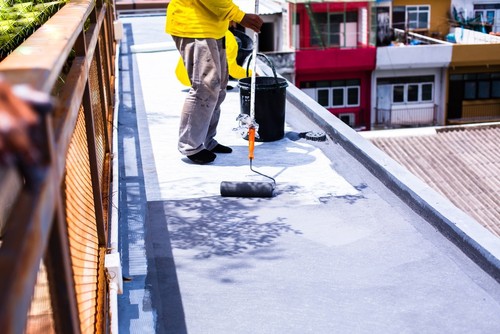
There are various types of materials used in the development of surfaces. There are walls or surfaces coated with bituminous membranes, while there are concrete and tiled surfaces. The best waterproofing system differs on every surface, depending on the materials they are made of.
Identifying the best waterproofing system is an essential consideration because this helps builders to decide the techniques and process of waterproofing. This also allows them to choose whether to implement the ordinary or common waterproofing strategy or if they need to apply localized renovation.
Also, this will help them identify the materials that would develop the best waterproofing system specifically for a surface.
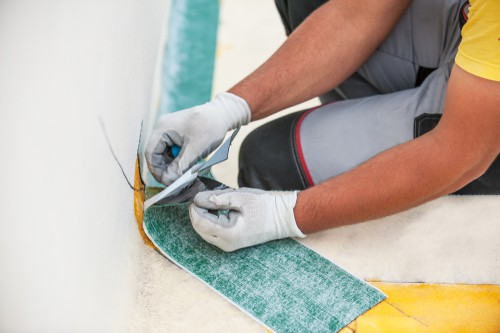
Check, restore, and fix joints.
Could you check the presence of joints on the surface where you’ll do the waterproofing? Enlarging the joints with the correct mechanical devices is crucial if there are almost straight joints. On the other hand, if there are irregular and widespread cracks, fix or restore the surface before recreating the joints.
If the character has no joints, evaluate if it is necessary to create one. If you need to create one, you may cautiously cut the grout lines to avoid damaging waterproofing components. Also, could you check the edges of the joints for possible deterioration and necessary replacement? This is to make sure to ensure the waterproofing process is smooth.
Treat collecting wells if necessary.
If there are collecting wells, could you check if you need to treat them? You can treat contact points between collecting wells and screed by cleaning, tile removal, and outer edge reconstruction.
Cure the Surface for at least 24-48 hours after the repairs.
Before starting the waterproofing process for the surface, leave it for at least 24 to 48 hours. This is to give at least time for possible wet areas to dry. Not only drying but allowing rubbers to undergo the curing process.
Waterproof first joints and plumbing.
Finally! You can proceed to waterproof but not to the surface. Could you first waterproof the joints and plumbing attached or on the cover? This is to have secure and flexible waterproofing barriers and junctions. Some kinds of joint sealing are hydrophilic gaskets, thermoplastic water bars, injection hose systems, and adhesive tapes.
How to Prepare Surface for A Waterproofing Job? – Conclusion
Preliminary preparation in waterproofing surfaces requires longer than installing a waterproofing system. But this significantly contributes to the quality of a waterproofing system, its maintenance, and its longevity.

