
Best Guide To Toilet Water Leakage Repair (Waterproofing)
August 23, 2022
When Should You Use Waterproofing?
November 24, 2022Can You Waterproof Over Paint?

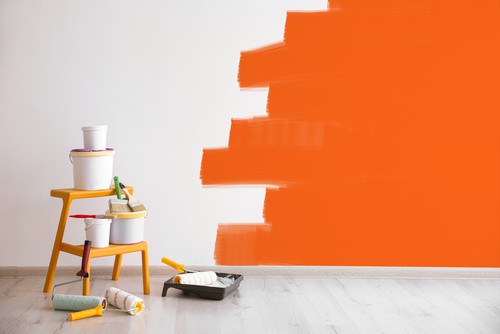
Can You Waterproof Over Paint? If you live in or happen to be visiting a place with wet weather, you may have been wondering if it is possible to waterproof over paint. The answer is yes, as long as the paint you are using is designed to be waterproof.
Waterproof paints work by having a rubber additive mixed into the paint’s other substances, which creates a protective shell around the outside of the liquid when applied. This rubberized coating prevents water from seeping into the wood and steel underneath, and can also help prevent mold and corrosion from forming.
Applying waterproof paint over the existing paint
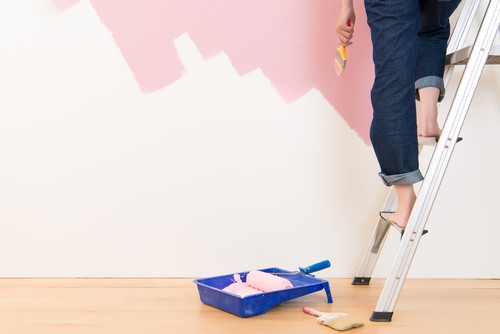
One way to apply a waterproofing seal is to simply put down several coats of the waterproof paint, and let it cure (dry out) for at least eight hours. Curing time will vary based on temperature, humidity, and the type of paint you’re using.
A glass bead sealant can be used to protect a surface from water damage. It dries fast, has high impact strength, and has few noticeable smells. Another option is to use a primer that is formulated especially to be used with the top coat of paint.
The key to waterproofing over paint is using the same brand and paint type. If you don’t, you’ll likely have a lot of problems trying to create an even surface—there will probably be spots that are still unprotected by the water-based sealant.
It’s also important to remove as much of the old paint as possible before applying a waterproofing sealant or protective coating. One common topcoat:
Paint Sealants
Waterproof paint sealants are available in a rainbow of colors, but there are also black and light gray water-based sealers available. These types of silicones work by covering the wood or metal that is exposed by the old paint’s underlying layer.
If you’re applying a waterproofing coat over brand-new wood, you may need to first sand the entire surface until rough, which helps to even out the finish. After the damaged surface is smooth, you can begin with a coat of primer.
Once the primer has dried, you can apply the paint sealant. The liquid silicones provide an ultra-smooth finish in one or two coats.
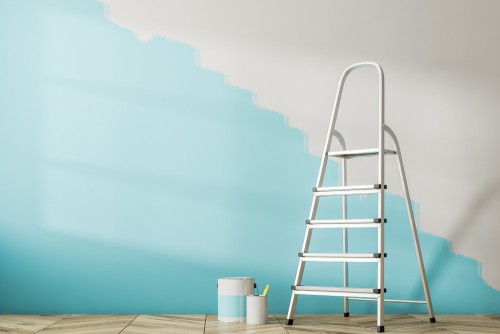
Simple Steps to Waterproof Exterior Walls
1. Examine walls for faults
Waterproofing external walls involve more work than indoor walls. The process begins anywhere from 2 to 4 weeks after the work starts, so allow a month for each coat. You’ll need to start with the hardest areas, such as the basement and outside walls.
2. Clean your gutters
The gutters must be cleaned before applying the liquid. This way, you’ll avoid any blockages. If your gutters are blocked, use a vacuum cleaner to unblock them. Spray the unclogged gutters with water to clean and remove any dust or leaves you may have missed. Here are a few products you should consider:
– concrete waterproofing coating- This product is suitable for use on concrete, brick, and paving. It forms a protective barrier that keeps the water out of the substrate.
– waterproofing paint – Many colors are available, designed to go on easily, cover well and be durable. They can also be used as a sealant where no paint is below.
– silicate-based concrete sealer – This is a quick-drying waterproofing agent that doesn’t cause any shrinkage or warping of the concrete.
4. Use plaster waterproofing additive
The next step is to add a thickening agent to the plaster material. The waterproofing additive adds a layer of protection against water ingress and associated problems. This additive can be purchased from most suppliers of plaster materials.
5. Prepare walls for waterproofing
You need to ensure that the walls are dry and free from dust and loose materials. Clean them with a damp cloth and wipe them dry. You can use a vacuum cleaner to remove dust, dirt, and any other loose material. Next, you need to use a stiff bristle brush to scrub the surface. This will ensure that the surface is clean and ready for waterproofing.
6. Apply the waterproofer
The next step involves applying the waterproofing agent. This will be done by a professional or you can apply it yourself depending on the size of your project. Both interior and exterior walls can be waterproofed with this product. You can also apply it for external wall waterproofing.
7. Let the waterproofing agent sit for 8-12 hours
Do not attempt to paint your house or walls while the sealant is still wet. This will cause you significant problems back at the property. Instead, allow it to dry for at least two days before you start painting.
8. Test
After waiting for the wetting agent to dry, test the inside walls and exterior walls with a simple water test. Allow water to drip down from the ceiling for 24 hours in a closed room, and see if there are any leaks. If there are no leaks then you can start painting.
Enhancing Water-Resistant Paint
Enhancing your painted surfaces can be done in a few simple steps; simply the right combination of paint colors and the proper application technique will make a huge impact on how well your current paint holds water. The following are some simple tips that provide additional protection against water damage.
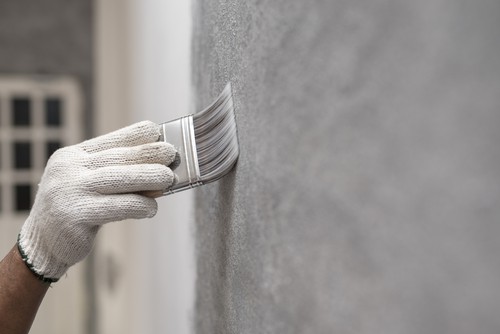
1. The top coat must be a water-based primer
Waterproofing without painting is possible, but paint adheres less easily to non-painted surfaces. Don’t try it. Waterproof your walls with a water-based primer before you apply your top coats of paint. Waterproofing primers are available in various colors and both brush-on and spray-on versions.
2. Apply the primer
Waterproofing primers are effective as a single coat or in two layers. Primer coats close all cracks, crevices, and open joints to create a smooth, watertight surface that is ready for paint. Use non-abrasive sandpaper to smooth the primer’s surface before applying any top coats of paint.
3. Choose a paint that is right for your home
There are many types of non-membrane paints. Water-repellent paints and other coatings are available in flat, semigloss, and gloss finishes. They may also be available in different sheens, depending on your preference.
4. Use the right brushes and rollers
You’ll get the best results if you use a soft brush or roller with just enough water to keep the paint moving smoothly across the surface. Test your paint with a dry brush before applying it to your walls; this will prevent any problems from occurring should the paint sit too long before drying.
5. Apply only two coats of paint
Two coats of paint provide a superior water barrier. If you’re using a non-membrane paint, apply one coat for the entire wall, then wait about 24 hours before applying a second coat.
If you’ve applied a membrane-type paint in one or two coats, wait at least eight hours before applying the second coat to allow the previous coat to dry properly. The larger your project is, the longer you need to let the first coat dry before applying the next one. Generally, painting on sloped surfaces will be more complex than painting on flat surfaces; allow an extra day for this type of installation.
Can You Waterproof Over Paint? – Conclusion
As a contractor, make sure you find the right product to be used on your new project. It will protect your clients against water damage if applied correctly and with care. Make sure you get professional advice before using any product on your property, as water damage can cause significant problems.

